Choosing the right Brass Rivet Button is more than selecting a bright, attractive finish. It requires attention to material, size, construction, and installation conditions. A button may look perfect in a product photograph, yet fail when exposed to thick leather, repeated pulling, or moisture.
Brass offers a warm appearance and useful corrosion resistance. However, not every brass alloy performs identically. Check the base material, plating, shank length, cap diameter, and setting method. A short shank may not grip layered leather securely. An oversized cap can also distort a thin fabric panel. Small details matter.
Fastening specialist John W. Fisher states, “A fastener is reliable only when its material, geometry, and installation suit the joint.” This principle applies directly to every Brass Rivet Button selection. The strongest-looking option is not always the most suitable one. That can be easy to forget.
Begin with the product’s real working conditions. Will the button decorate a handbag, secure a belt, or reinforce outdoor equipment? Measure the combined material thickness. Then consider hand tools, press tooling, expected load, and cleaning exposure. Test a sample before approving a large order.
A careful trial reveals practical problems. The cap may tilt. The post may split. The finish may scratch during setting. These failures are inconvenient, but they provide useful evidence. I have found that appearance often receives too much attention during early selection. Function should lead.
This guide explains how to compare Brass Rivet Button options with greater confidence. It also examines common mistakes, including mismatched dimensions, weak posts, and unsuitable finishes. A reliable choice should look refined, install cleanly, and remain stable through everyday use.
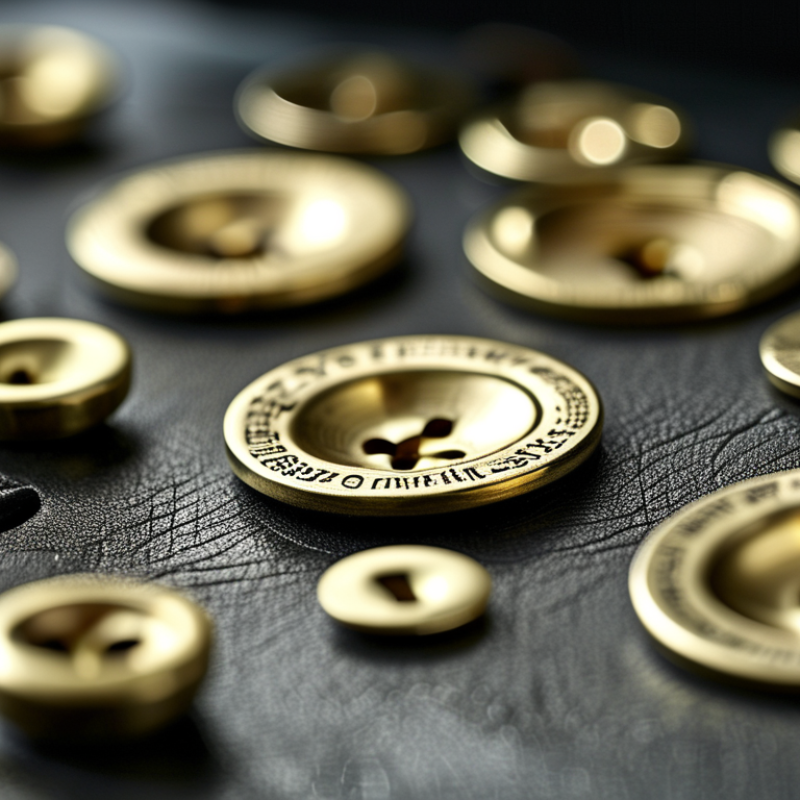
A brass rivet button is a two-part fastener used to join fabric layers securely. It usually has a decorative cap, a post, and a matching base. During installation, the post passes through prepared fabric holes. Pressure then spreads or bends the post against the base. This creates a firm mechanical grip without ordinary sewing thread. That matters.
In practical garment repairs, I check the fabric thickness before choosing the button. Thin cotton needs a shorter post, while denim or canvas often requires a longer one. A post that is too short may not lock correctly. One that is too long can damage the fabric or leave a sharp edge. The button’s diameter also affects comfort, especially on waistbands and children’s clothing. Small details matter.
Do not assume every golden-colored button is solid brass. Some are coated steel or brass-plated alloy, so appearance alone can mislead you. Solid brass usually offers good corrosion resistance and a warm surface, but it can still develop marks from moisture and skin oils. Choose a finish that matches the garment’s use, not only its color. Test the rivet on scrap material first, using the same tool and pressure. I have found that even experienced installers occasionally over-compress the post. A neat, secure setting should hold the layers firmly without crushing the surrounding fabric.
Material selection affects strength, appearance, and long-term wear. Solid brass suits leather bags, belts, and workwear because it keeps a warm metallic tone after surface wear. Brass-plated steel costs less and offers useful strength, but exposed edges may reveal the base metal over time. The U.S. Geological Survey’s Mineral Commodity Summaries 2024 reported global zinc mine production at about 12 million metric tons in 2023. Zinc supports many brass alloys, yet this figure does not guarantee button quality. Alloy composition and supplier testing still matter.
Finish changes the button’s character. Polished brass gives a bright, refined look, while brushed brass hides small scratches better. Antique finishes add darker recesses around the rivet head, creating a worn, handcrafted effect. A clear protective coating can slow tarnishing, but friction, sweat, and repeated washing may eventually dull it. I once chose a glossy finish for a heavily handled leather sample. It looked excellent on day one, then showed fingerprints too easily. That mistake was useful.
Tips: Match the finish to real handling conditions. Test ten buttons on the actual fabric or leather. Check color after bending, rubbing, and moisture exposure. The International Copper Study Group’s 2024 market forecast expected refined copper usage to grow by roughly 3% during 2024, reminding buyers that copper-based materials remain widely used. Still, broad market data cannot replace a pull test, coating inspection, and sample wash trial. Small tests often reveal expensive surprises.
How to Choose the Right Brass Rivet Button?
Selecting a brass rivet button starts with the garment’s real thickness. Measure every layer, including lining, padding, and folded edges. A cap that looks balanced may still feel heavy on lightweight fabric. Choose a diameter that matches the design and distributes pressure evenly. Smaller buttons suit shirts and fine canvas. Larger buttons work better on denim, leather, and workwear. The post must allow a clean clinch without leaving a sharp point. My first choice is not always right. A physical sample often reveals problems that measurements miss.
Shape affects comfort and snag resistance. Low-dome buttons create a flatter profile, while rounded caps add visual depth. Check the button against seams, pockets, and folding areas. For fastening type, compare post-and-cap, double-cap, and screw-back constructions. Post-and-cap options suit many apparel applications. Screw-back designs can help with thicker materials or replaceable components. Test the chosen type on the final material, not one fabric swatch. ASTM D4846 provides a recognized method for evaluating snap-fastener removal and breakage, where applicable. Textile Exchange’s 2024 Materials Market Report recorded 132 million tonnes of global fiber production in 2023. Durable hardware can help reduce avoidable replacement waste.
Tips: Compress the fabric before measuring. Pull the button from several directions. Inspect the back after fastening. Look for distortion, loose movement, or exposed metal. Keep a few failed samples. They teach more than a perfect prototype. For production approval, record dimensions, material thickness, fastening force, and wash-test results.
How to Choose the Right Brass Rivet Button?
Choosing a brass rivet button starts with the load it must carry. A light shirt button needs different strength from a leather bag closure. Check both pull and shear forces, not just the button’s appearance. In practical testing, assemble the button with the actual fabric layers. Then apply repeated pulls with a simple force gauge. A button that feels solid can still loosen. Use a washer when thin material spreads or tears around the hole.
The working environment matters just as much. Moisture, sweat, salt, and cleaning chemicals can stain brass or weaken its surface finish. Outdoor products may face rain, dust, and wide temperature changes. For coastal use, inspect samples after salt exposure and repeated drying. Keep brass away from incompatible metals when galvanic corrosion is possible. Small details matter here. A hidden washer may corrode first.
Durability also depends on installation quality. The post must match the total material thickness, with enough length for a secure roll or clinch. Excessive force can deform the cap, while insufficient force leaves movement. Test at least several production samples, including the weakest-looking material. Record failures, even when they seem minor. I have found that abrasion around the button often appears before complete detachment. Repeated opening cycles, flexing, washing, and temperature exposure reveal more than a single pull test. Choosing by appearance alone is tempting, but it remains an unreliable shortcut.
| Selection Factor | Typical Requirement | Recommended Brass Rivet Button Specification | What to Check Before Selection |
|---|---|---|---|
| Light decorative or low-load use | Appearance is the main priority; little or no repeated pulling force. | Small button head, approximately 8–12 mm; thin to medium shank; standard cartridge brass or brass-plated steel where suitable. | Confirm that the button will not be used as a structural fastener. Check head coverage and fabric compatibility. |
| Moderate repeated load | Regular opening, pulling, flexing, or moderate vibration. | Medium head, approximately 12–15 mm; stronger shank and properly formed backside. Prefer solid brass when corrosion resistance and long service life are important. | Verify pull-out resistance, shank fit, setting quality, and whether the button can rotate after installation. |
| High pulling or shear load | The fastener carries significant force or helps retain thick layered material. | Larger head, approximately 15–20 mm; thicker shank; reinforced backing washer or a purpose-designed heavy-duty fastening system. | Do not rely on head size alone. Test the complete button, post, washer, and material assembly under the actual load direction. |
| Thin fabric or delicate leather | The substrate can tear, stretch, or deform around the hole. | Use a smaller or lighter button with a suitable post length; add a backing washer or reinforcement patch when needed. | Check the hole diameter, edge distance, fabric weave, and local reinforcement. Avoid excessive setting force. |
| Thick leather, canvas, or multiple layers | The combined material thickness is substantial and may compress during setting. | Select a post length that allows complete forming without excessive protrusion; use a heavy-duty post and compatible washer. | Measure the compressed stack thickness, not only the uncompressed material. Confirm that the setting tool matches the post geometry. |
| Indoor, dry environment | Low humidity and limited exposure to chemicals or salts. | Uncoated or lacquered brass is generally suitable, depending on the required appearance and exposure to handling. | Consider tarnish, fingerprints, cleaning agents, and contact with dissimilar metals. |
| Outdoor or humid environment | Rain, condensation, high humidity, or changing temperatures. | Solid brass with a suitable protective finish, such as clear lacquer or a verified corrosion-resistant plating system. | Check coating adhesion, exposed cut edges, drainage, and the effect of moisture trapped between the button and substrate. |
| Salt spray, coastal, or marine exposure | Frequent contact with salt-laden moisture or saline water. | Use a tested corrosion-resistant finish or a more suitable corrosion-resistant alloy when appearance and service life are critical. | Request salt-spray or cyclic-corrosion test results for the complete finished button. Standard brass should not be assumed to be marine-grade. |
| Chemical or industrial exposure | Contact with detergents, sweat, solvents, acids, alkalis, or process chemicals. | Select the brass alloy and surface finish based on the specific chemical. A protective coating may reduce staining but cannot prevent every chemical attack. | Review chemical compatibility, temperature, exposure time, and galvanic contact with nearby metals. |
| Frequent washing or abrasion | Repeated laundering, rubbing, bending, or contact with tools and hard surfaces. | Solid brass with a durable finish or an intentionally aged surface; avoid decorative finishes that are not abrasion-tested. | Test color retention, coating wear, edge rounding, and loosening after the expected number of cycles. |
| Electrical or electronic surroundings | The button is near electrical contacts or must avoid unintended conductivity. | Brass is electrically conductive; use an electrically insulating coating or a non-conductive alternative when required. | Check electrical isolation, surface resistance, grounding requirements, and galvanic compatibility. |
| Long-term dimensional stability | The assembly must remain tight after temperature changes, vibration, and repeated handling. | Use a correctly sized post, controlled forming operation, and backing washer where appropriate. Avoid over-setting, which can damage the substrate. | Measure loosening, rotation, pull-out, and substrate tearing after environmental and cycle testing. |
How to Choose the Right Brass Rivet Button?
A brass rivet button should match your material’s thickness and use. For jackets, bags, and light leather, choose a post long enough to fold securely. A post that is too long may bend unevenly. One too short may loosen after repeated use.
Check the button under bright light. The surface should look even, without deep scratches, sharp burrs, or dark corrosion. Inspect the cap, post, and washer separately. They should sit straight and feel firmly joined. A magnet test can help identify steel, but it cannot confirm brass quality. Ask for material details when possible. Finish alone is not proof.
Installation needs patience. Mark the hole carefully, then punch a clean opening without tearing the fabric. Test the rivet on a scrap piece first. Place the button on a hard, flat surface, and keep the setter vertical. Use controlled taps rather than one heavy strike. Excessive force can flatten the cap or damage the material. I once rushed this step and created a crooked button. It looked acceptable, but it failed during repeated opening.
Tips: Match the washer to the post size. Check alignment before fastening. Press the finished button from several angles. If it moves, remove and replace it instead of hiding the problem. Always follow the tool’s instructions, because setter shapes and rivet designs differ.
: Match the button to the material thickness and expected load. A shirt needs less strength than a leather bag. Check pull and shear forces. Appearance alone can mislead.
Use a washer when thin fabric may spread or tear around the hole. It helps distribute pressure. Check the hidden washer for corrosion, too.
The post should exceed the total material thickness enough for secure folding or clinching. A short post may loosen. A long post may bend unevenly.
Moisture, sweat, salt, cleaning chemicals, dust, and temperature changes can stain brass. Outdoor products need extra testing. Coastal use deserves special attention.
Use bright light. Look for deep scratches, sharp burrs, dark corrosion, or uneven surfaces. Check the cap, post, and washer separately. They should sit straight.
No. A magnet may help identify steel, but it cannot prove brass quality. Request material information when available. Finish alone is not enough.
Mark the hole carefully and punch cleanly without tearing the material. Test a scrap piece first. Keep the setter vertical. Use controlled taps, not one heavy strike.
Apply repeated pulls with a simple force gauge. Also test opening cycles, flexing, washing, and temperature changes. Inspect abrasion around the button. Small movement matters.
Remove and replace it. Do not hide the problem. Press from several angles and check alignment. I once accepted a crooked button; repeated use proved me wrong.
Choosing the right Brass Rivet Button begins with understanding how it works: its parts are pressed or fastened through layers of material to create a secure, decorative closure. The best choice depends on your project’s materials, appearance, and intended use. Consider whether brass, coated brass, or another compatible material is most suitable, and select a finish that matches the desired color, texture, and resistance to wear or corrosion.
Size, shape, and fastening type should correspond to the thickness and design of the materials being joined. You should also evaluate expected loads, moisture, temperature changes, friction, and frequency of use to ensure reliable performance over time. Before installation, check that the button has a smooth surface, consistent dimensions, strong components, and no visible defects. Use compatible tools, align the layers carefully, and apply even pressure during fastening. Proper selection and installation will improve both the appearance and durability of the finished product.
Fangyuan Metal Button